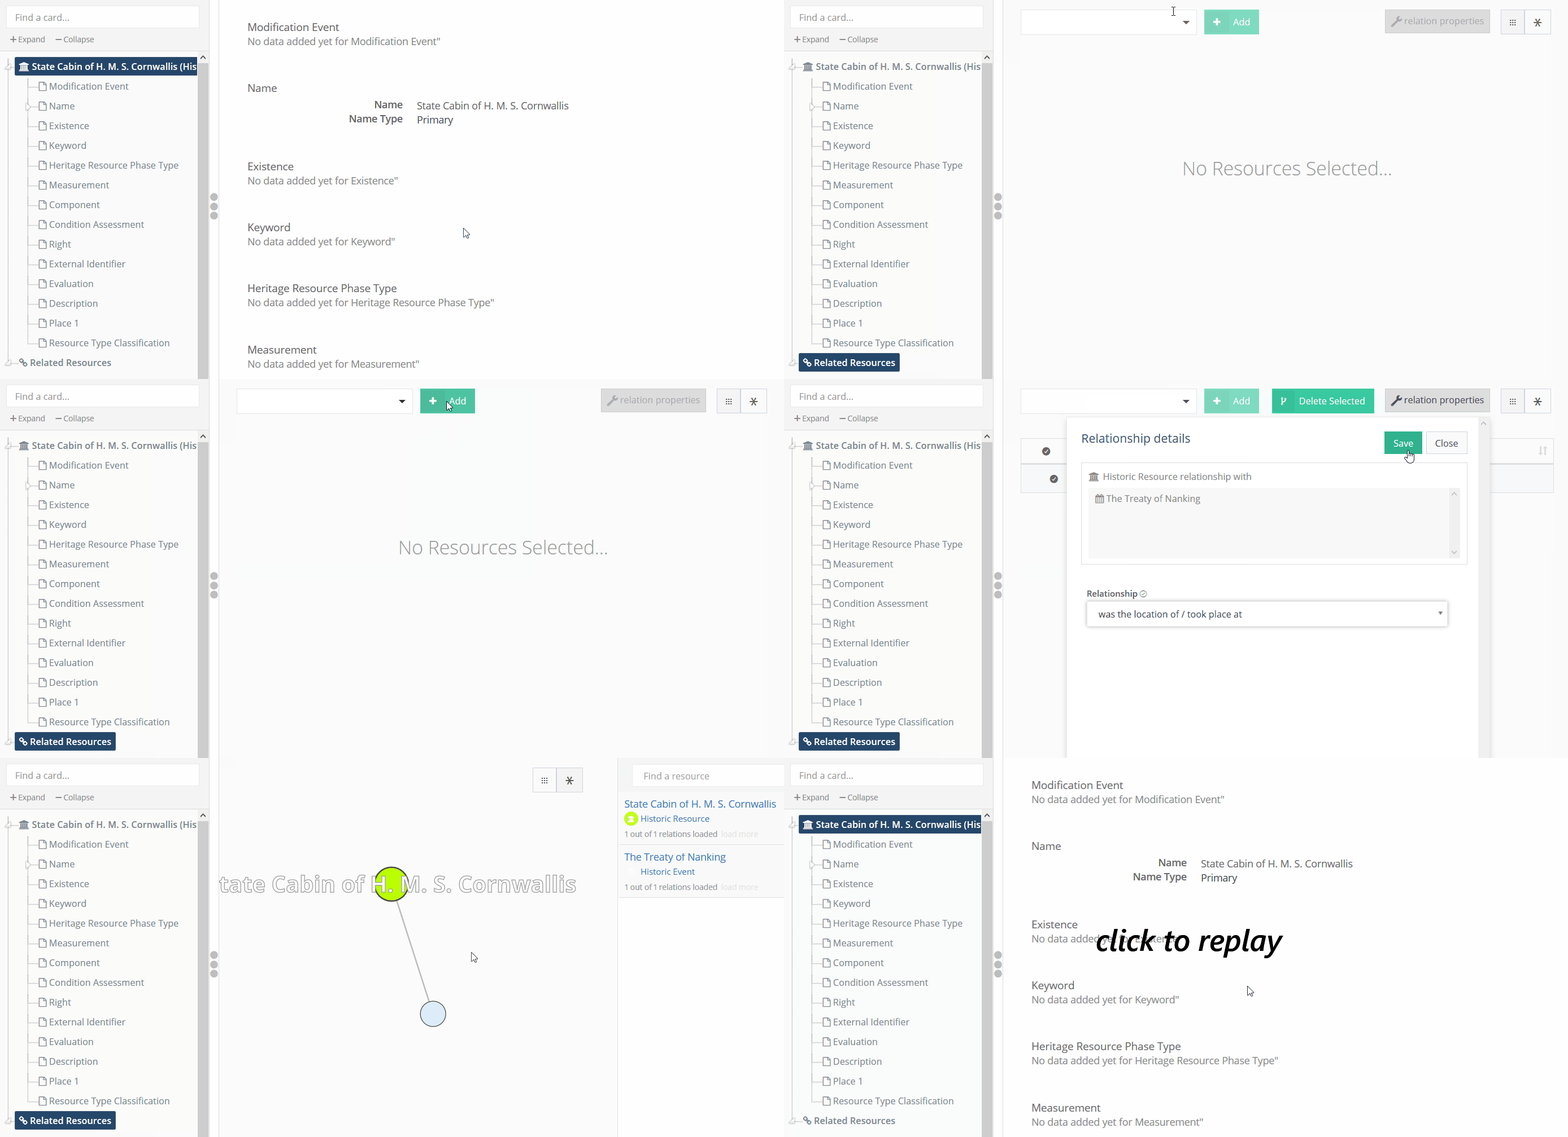
Creating and Editing Resources#
Resource Manager#
You may create new Resources only if you have access to the Resource Manager page. From there, you will begin by choosing which Resource Model you would like to use. Note that a Resource Model must have its status set to active for it to appear in the Resource Manager.
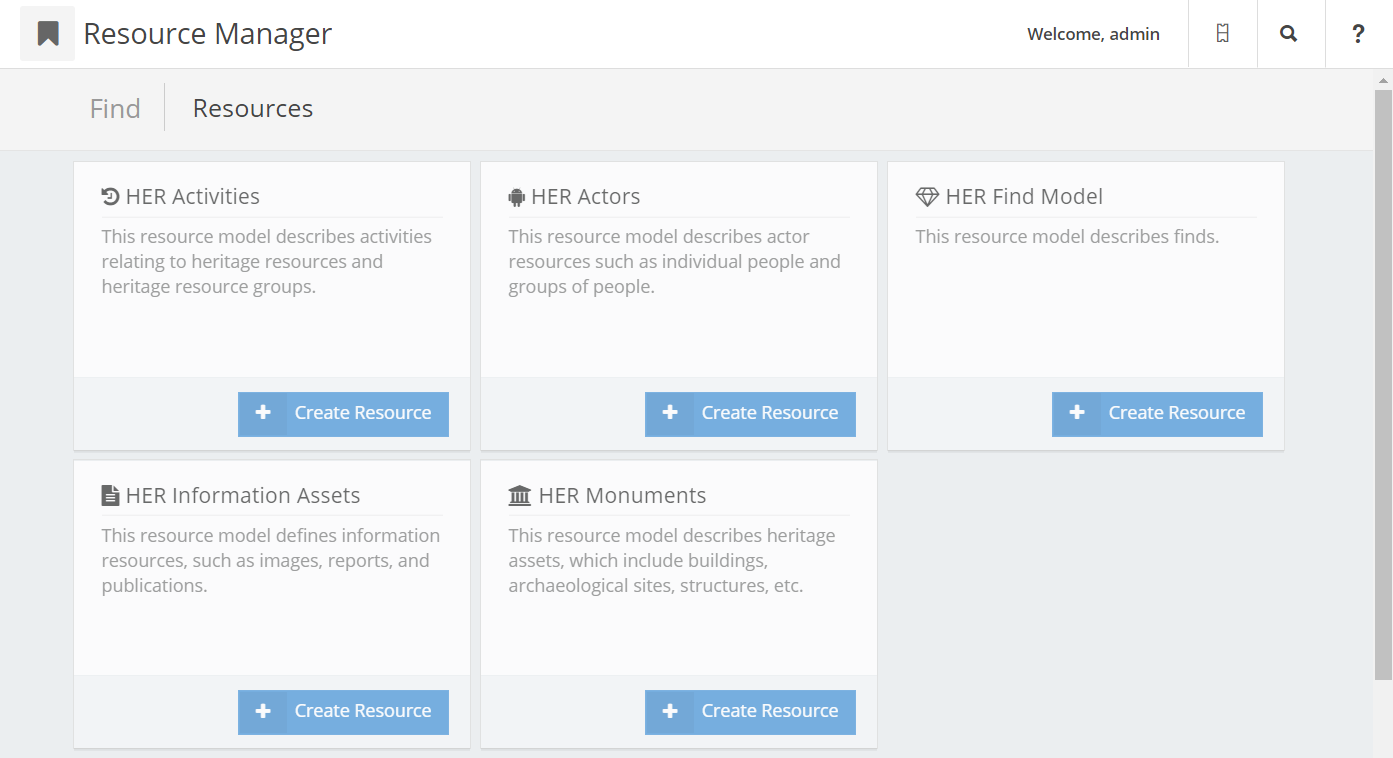
Your Resource Manager page may look different than this image, depending on what Resource Models you have set up in your database.#
Resource Editor#
The Resource Editor is used to create new or edit existing Resources. On the left-hand side of the page you will see this Resource’s “card tree”, which shows all of the data entry cards that you can edit. Think of “creating data” as “adding cards”.
To begin, select a card, enter data, and click Add. Some cards may allow multiple instances, in which case you will be able to add as many of the same type as you want.
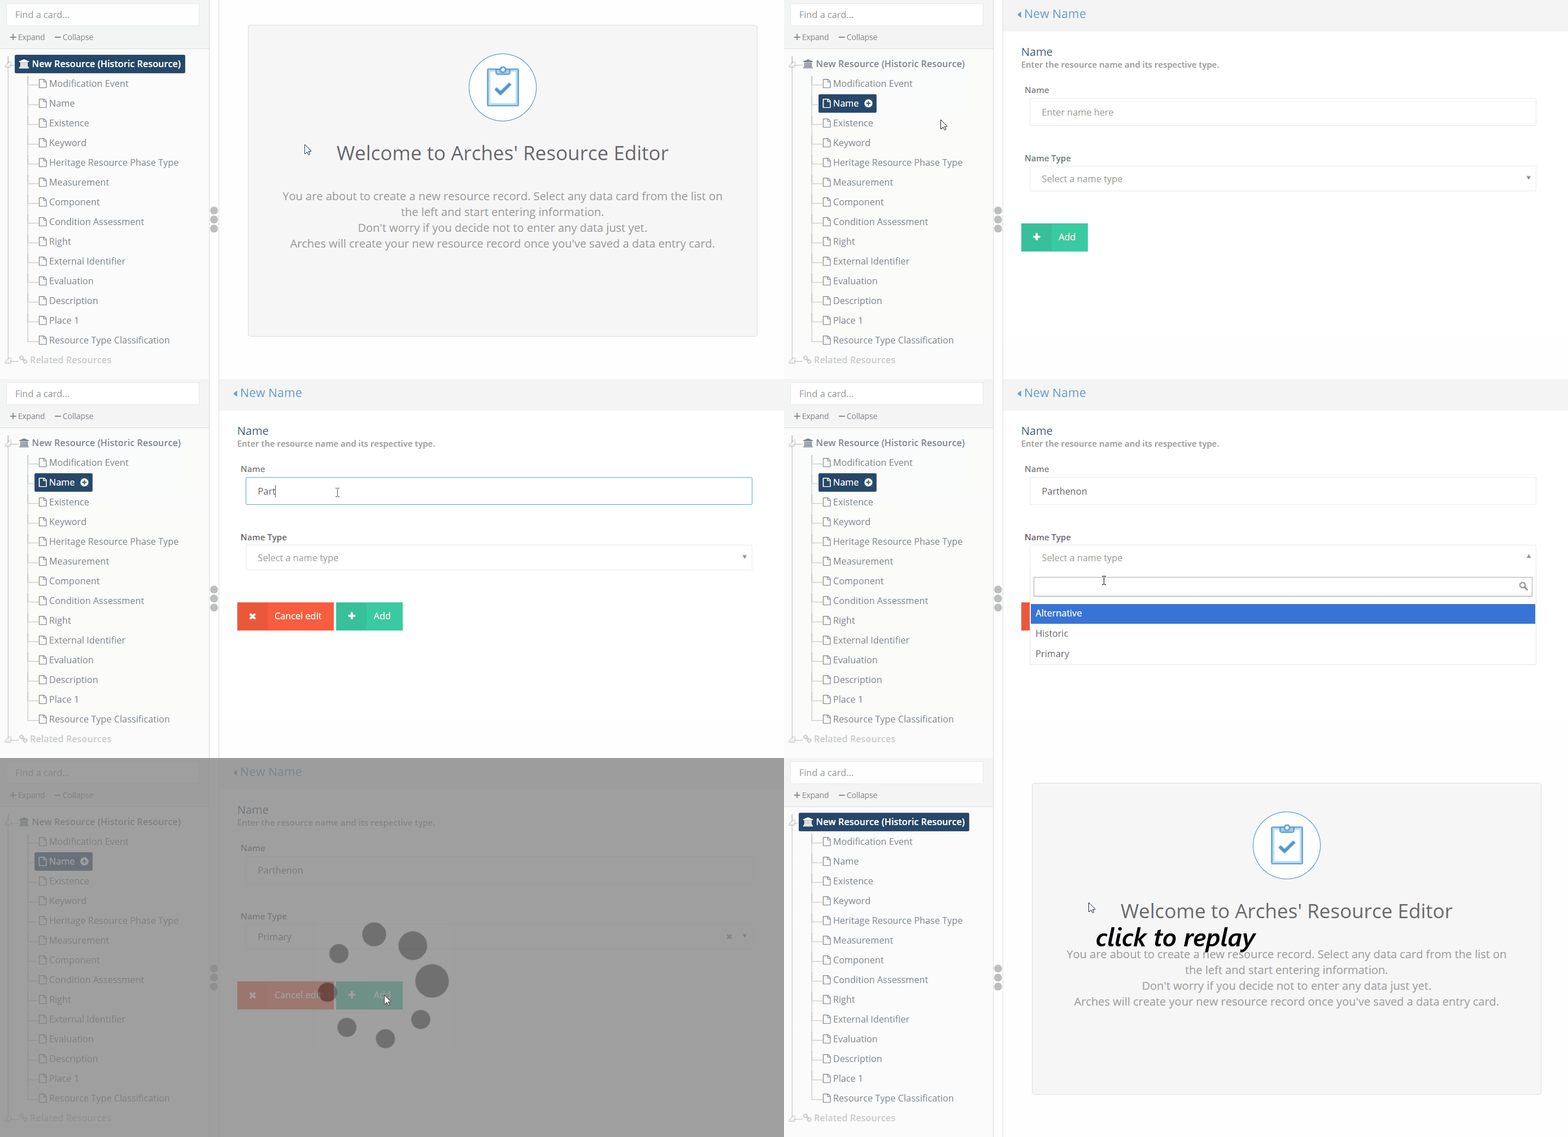
Simple data entry in Arches.#
Once you have saved data for a resource, you can see a full summary by selecting the top card. This is the resource report.
In some cases, cards will be nested within other cards, as in the example of adding a geo-location below.
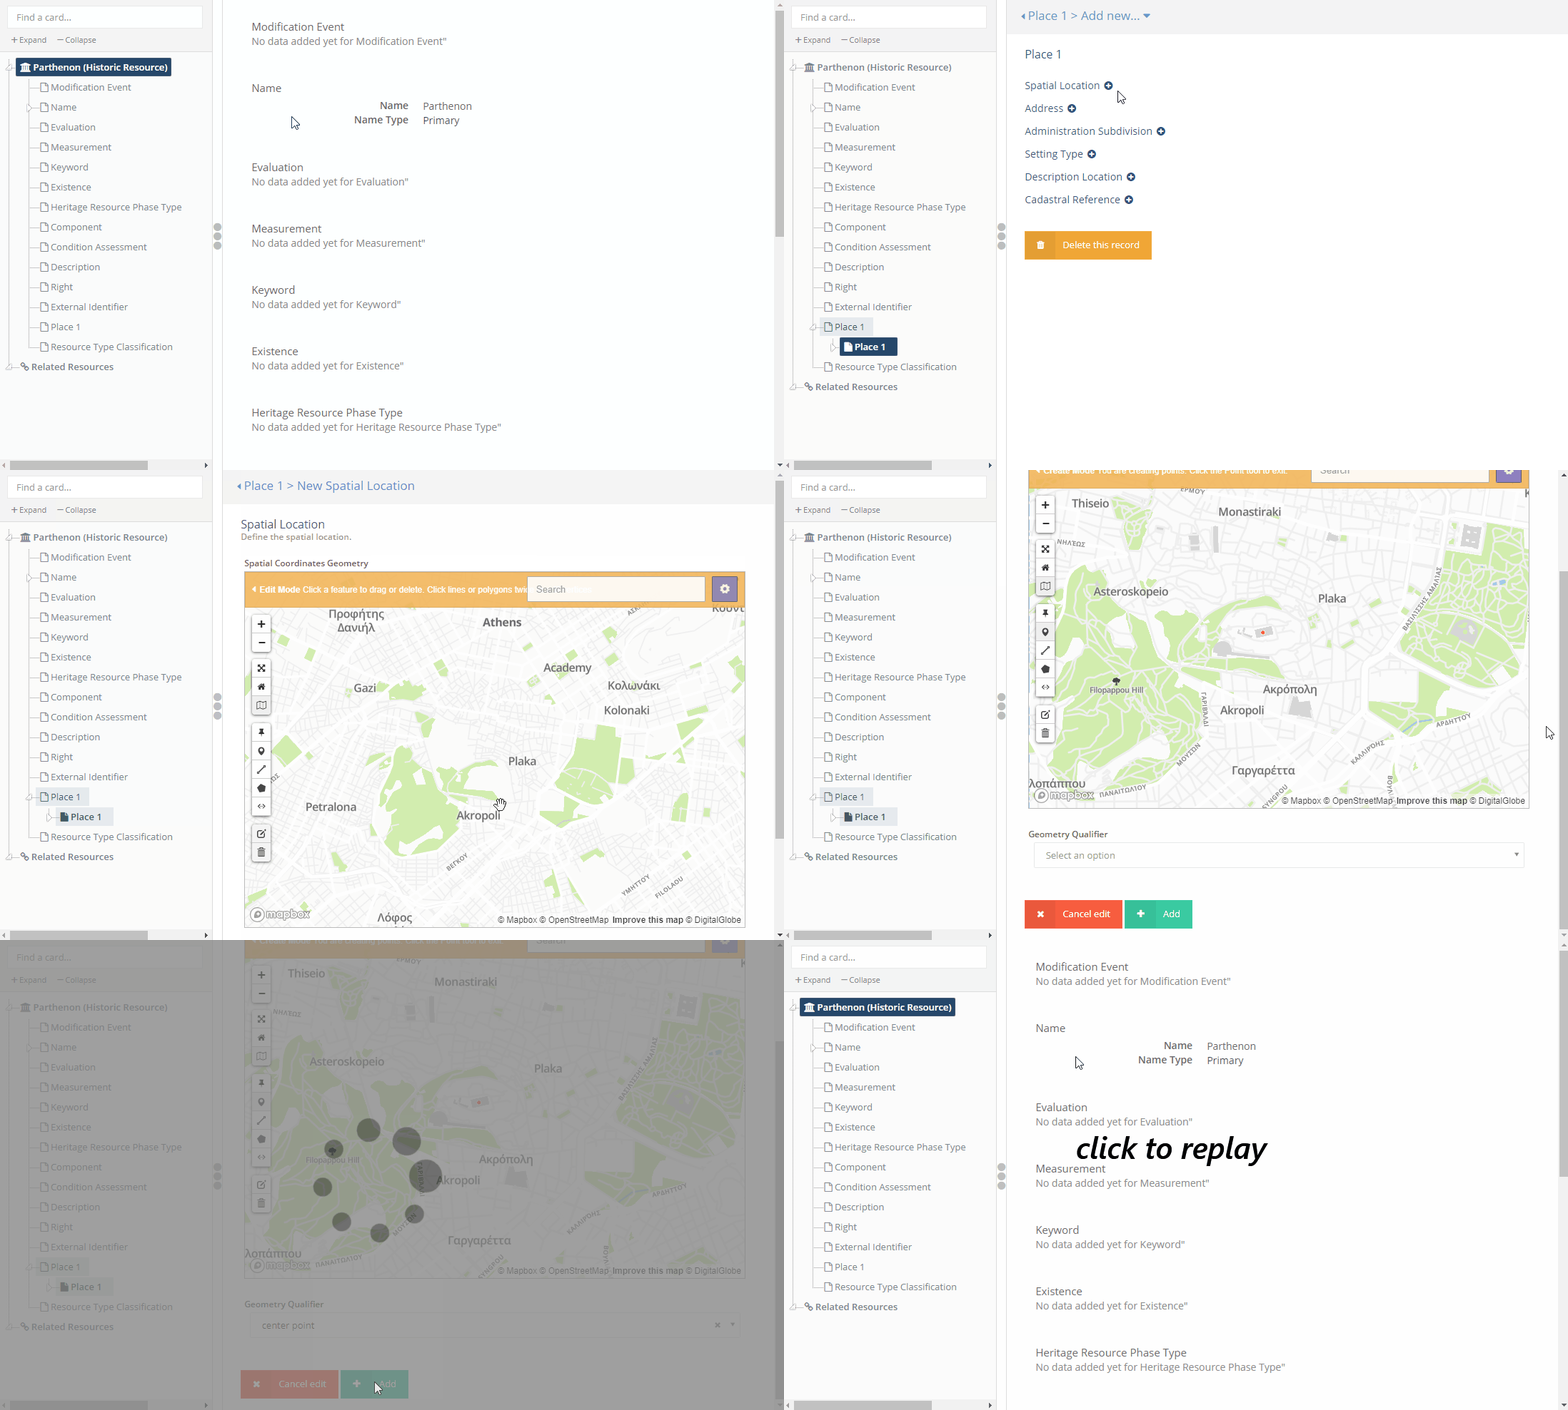
Created nested data in Arches.#
Provisional Edits#
If you are a member of the Resource Editor group, all of your edits–either creating new resources or editing existing ones–will be considered “Provisional”. A member of the Resource Reviewer group can then approve your edits, making them “Authoritative”.
Resource Editor makes an edit:

For Resource Reviewers, search results indicate provisional data:
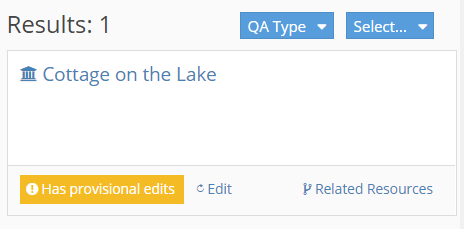
Resource Editors only see provisional data while using the resource editor.
Resource Reviewer will be prompted to Q/A the edit:

Accept or Decline:

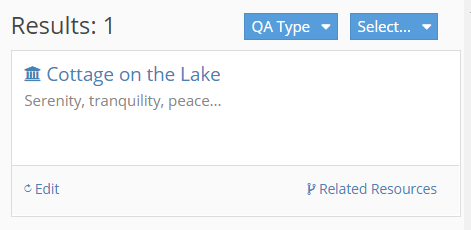
Approved edits are immediately visible:
Tip
A Resource Reviewer can also use the “Q/A Type” search filter (see images above) to only find resources with (or without) provisional edits.
